

Today I wanted to share with you my tutorial for making bookmarks. It's quite easy, lots of fun and surprisingly quick! I have made quite a lot. They make lovely gifts.
Materials needed:
- Piece of card - I recommend cream coloured card, but white or any other colour works too
- Pencil and rubber
- Watercolour paints
- Gold glitter paint (optional)
- Black pen(s) to go over the finished product with
- Something to put in the hole at the top - tassel, ribbon, cord etc
Skill level required:
Anyone can do it!
Fun and enjoyment to be had:
Limitless

Firstly, here are a bunch of random bookmarks I've made. I do all sorts. The first thing you need to do is have an idea of what you want to put on your bookmark. I will usually pick a favourite Bible verse and go with that, then illustrate and design the bookmark around the verse.

The next thing you need to do is find a piece of card that is the size of the bookmark you are wanting to make. Punch a hole in the top of the card.

This is just so you can see the size of the card I'm using for this tutorial. I quite like this size.
Any colour of card will work fine, you'll be painting over it anyway. I usually use a light cream, which I like because it gives you a warmer looking finished product than if you just use white card.

Now I draw on the bookmark the design I want. Use pencil. Trust me, use pencil. This is the part where you can experiment. Try something, rub it out, try something else. Keep modifying your design until you have a pencilled design you're happy with. Until you have lots of experience doing this sort of thing it takes some practice to fit all the words on the bookmark evenly. Experiment with ribbons, flowers, leaves, swirls and all sorts. At the top of this post was a few other bookmarks I've done you can use for inspiration if you like. Also Google images is great for inspiration. And Pinterest. There is all sorts of inspiration out there if you want it.

Now the fun bit! Take out your watercolour paint. For this tutorial I'm using a red paint, a yellow paint and a gold glitter paint that isn't a watercolour one, it's just a general glitter paint. You can use whatever colours you want. I really like lots of colours with yellow. Blue with yellow goes nice, purple with yellow, red with yellow, green with yellow... and the gold glitter paint works with pretty much anything too.
For this tutorial I'm using red. But the colour bit is completely up to you.

Mix the red paint with some water and start painting your bookmark. I really like the cream card because if you just use white, the red will look more red whereas on cream it comes off as pinker which I like.

Paint the entire card red. Don't use too much paint and don't try to be a perfectionist. Bear in mind that the dried watercolour will look a bit lighter than the wet stuff.

When it's all painted (and you don't have to wait for it to dry, just go for it), go over and paint some yellow on top. Don't put yellow on all of it. I like to paint yellow in horizontal lines almost like 'stripes' coming from different sides of the card. It just gives it a bit of interesting colour.
Notice how you can still see the pencil underneath the watercolour. The watercolour gives you a nice colour on the page but you can still see your design underneath.

There, this photo shows you better where I've put yellow. After you've yellowed, go ahead and paint some glitter paint on the card. I just did this randomly - kind of over the yellow, sometimes not. Just keep doing it until you're happy with how it looks.
Then leave your card until it is completely dry. Probably a good hour or so, maybe even more if you've used tons of water with the paint.

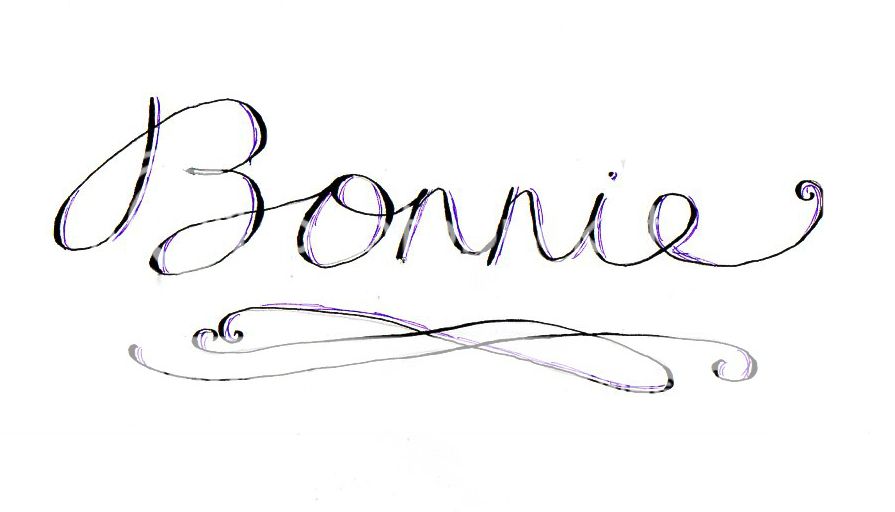
When your bookmark is completely dry, begin going over it with a black pen. This is where you want to be really careful because if you don't follow your pencil lines exactly, you'll still be able to see pencil with the pen peeking through from under the watercolour! (A good illustration of this: See the pencil beside the 'I' in the 'for I have' from the photo above!) Tut, tut, Bonnie. Make sure you're happy with the pencil design before you watercolour because once you watercolour, the pencil's there to stay.

And that's pretty much it! Complete going over the pencil, making your bookmark look nice and pretty.

After that you can add a tassel or gold cord or ribbon or something else to the hole you punched at the top of the bookmark. Just cause it's a nice finishing touch. :)
Have a fantastic day!
Those book marks look very nice. Good job.
ReplyDeleteThank you! :)
DeleteWow Bonnie! Those are really nice and look beautiful. I can't write like that though, so if I tried it, mine wouldn't come out very pretty probably. I may try one day if we have watercolor paints though. It looks fun to do. :) Thank you for sharing this tutorial!
ReplyDeleteLove,
Ashley
creatingpreciousmoments.blogspot.com
Hey Ashley! You're very sweet! Thanks. :)
DeleteA random tip I heard once that helps my lettering is to try to 'draw' the letters of a word, rather than writing them. It's a subtle difference but if you can get it it kinda changes your whole mindset. Maybe that will help. Otherwise practice!!
You are most welcome. :) Have a fantastical day.
Hi. Bonnie,
DeleteThanks for the advice about drawing words. That seems pretty neat and a I will try it. :)
Have a Christ centered day!
Love,
Ashley
These are so cute and look so very easy to make! I can't wait to try and make some of my own!
ReplyDelete-Paige
They are easy! I'd love to see what you end up making. :)
DeleteNice tutorial! Your book marks look very pretty :)... I love the idea of designing in pencil and then putting paint over it, much better than smudgy rubber marks
ReplyDeleteThank you, Tiffany! :) :) Yep, it works quite well. I was so pleased when I tried it and it worked! Only thing is to make sure you go over the pencil exactly! Otherwise the effect is a bit messy. :P
DeleteThank you for commenting!
Super adorable. Great verses too!
ReplyDeleteThank you! :)
Delete